When I tell people I spend as much time mastering audio as I do on video editing, they look surprised. But here is the truth: a visually stunning 10-hour ambient video means nothing if the audio is too quiet, inconsistently loud, or distorted. Viewers notice immediately—and they leave.
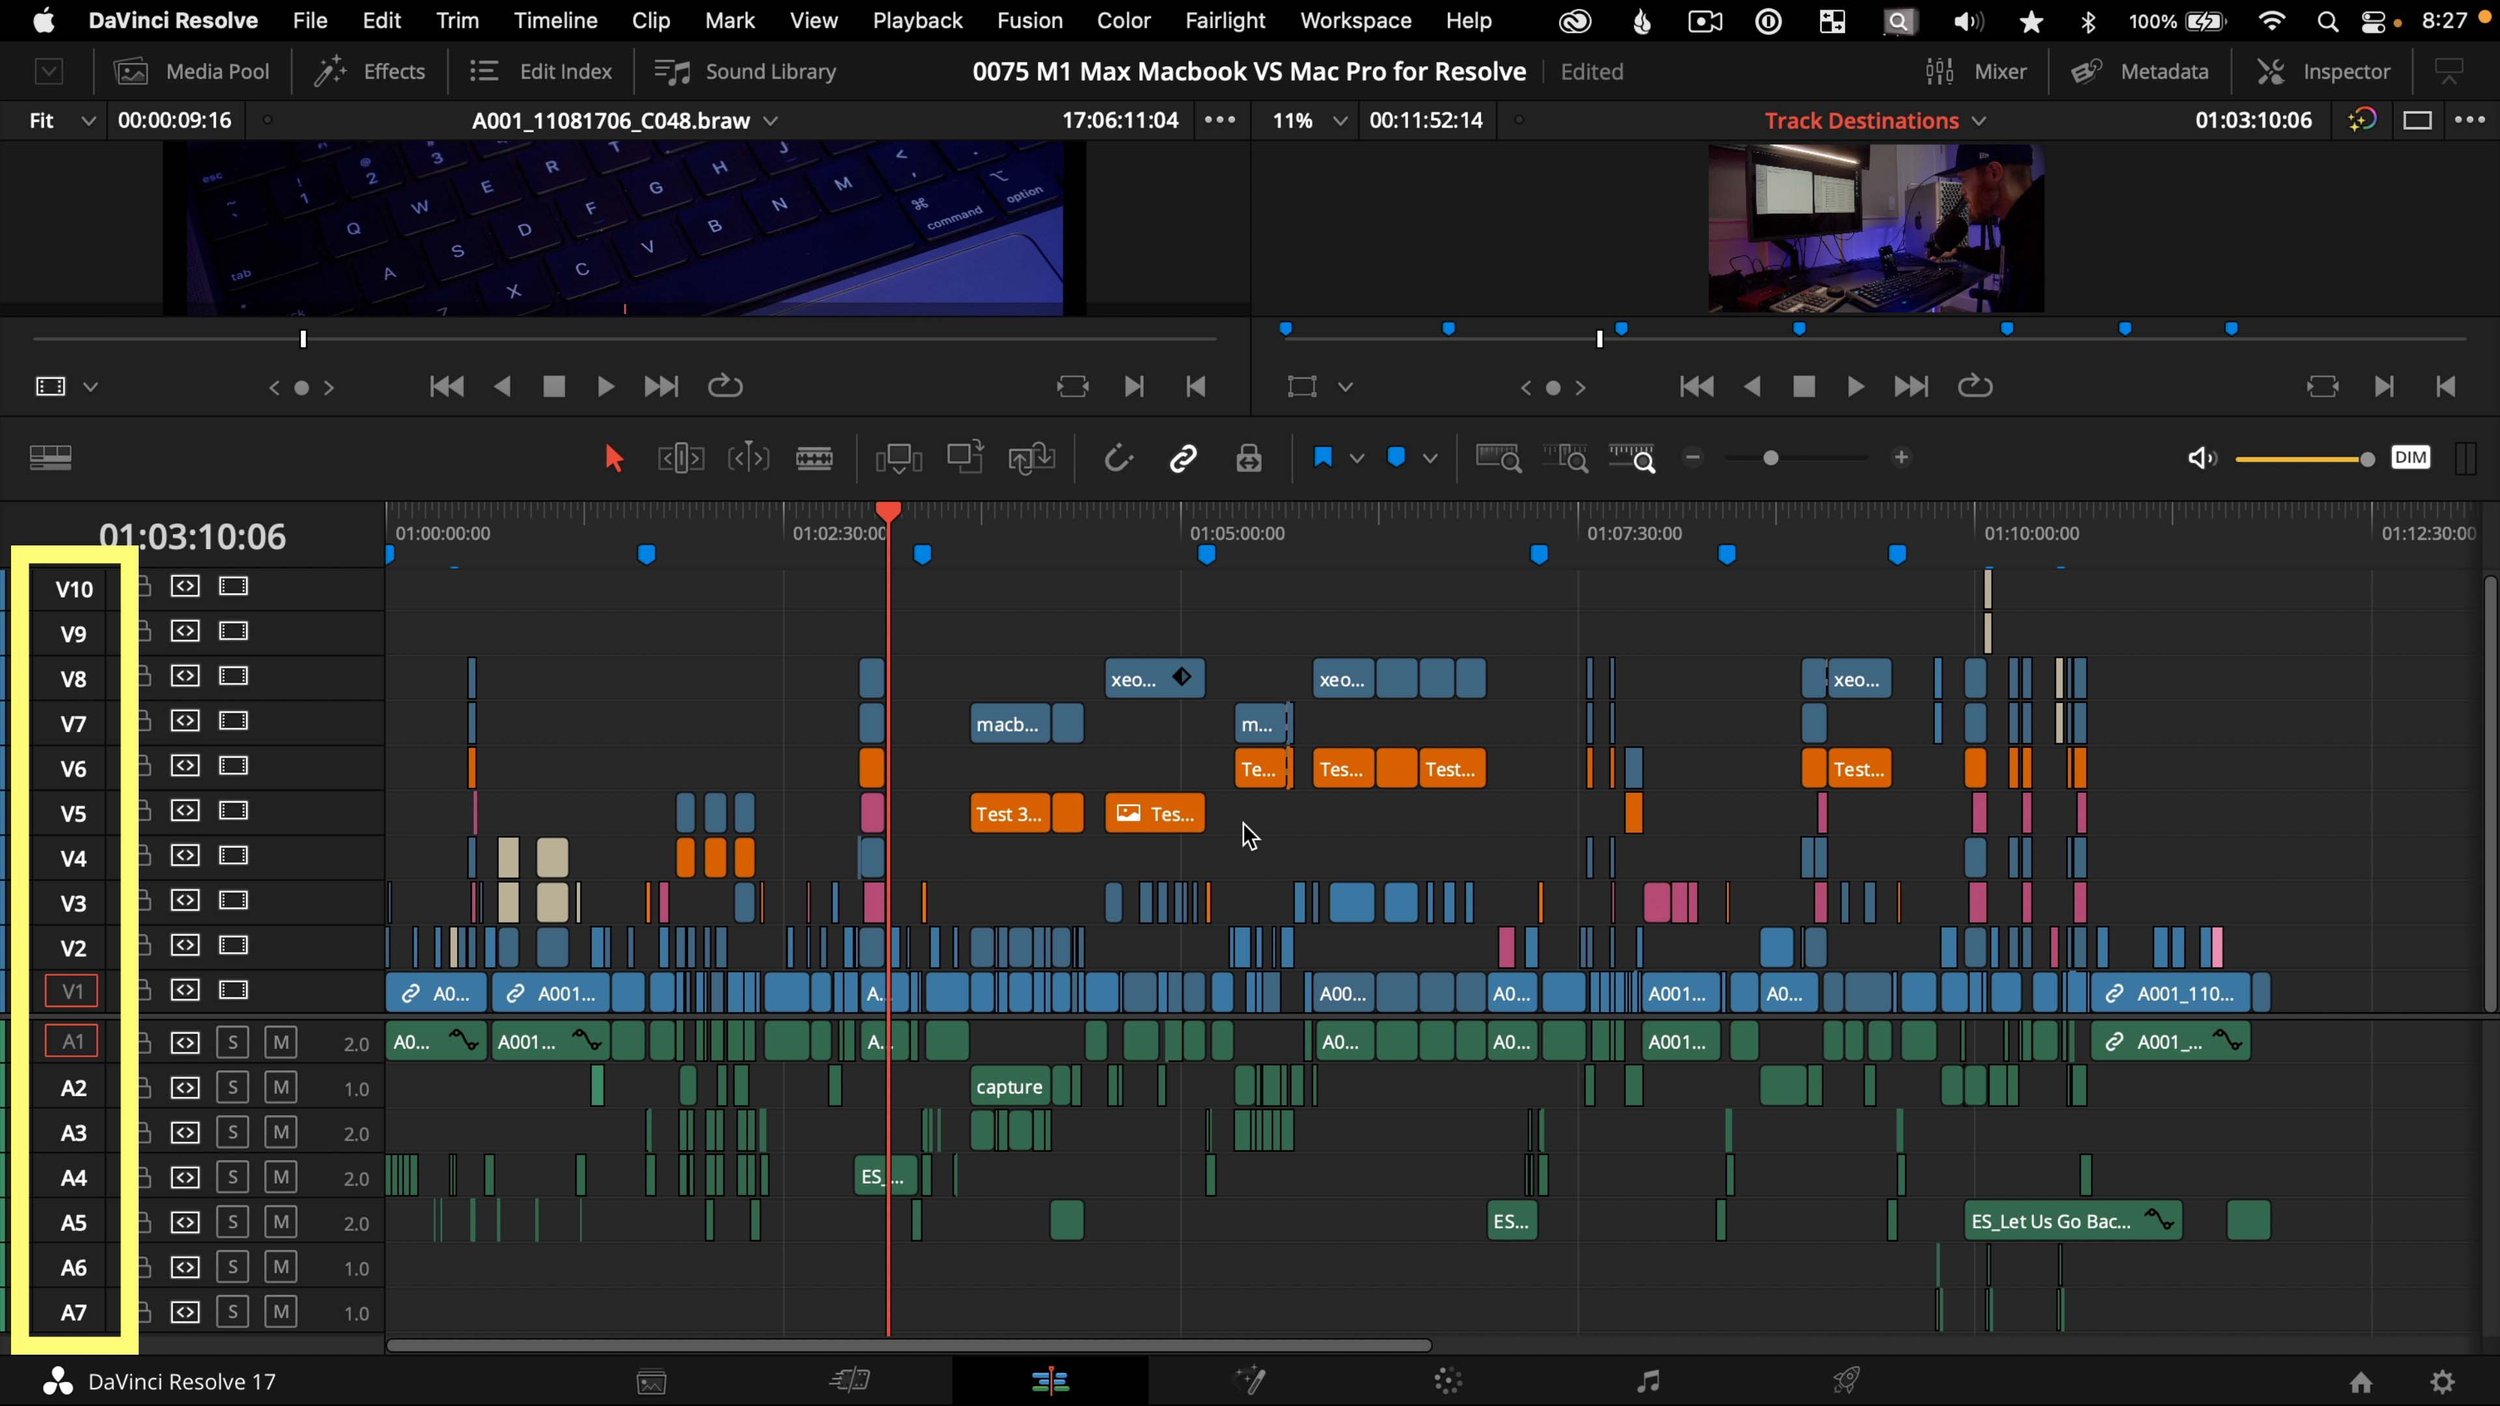
After producing hundreds of hours of ambient music content across Deep Focus Sphere, JazzSphere Radio, Chillout Sphere, Cyber Dreams, and Pianosphere Radio, I have refined an audio mastering workflow in DaVinci Resolve Fairlight that delivers broadcast-quality sound optimized specifically for YouTube's playback system.
This article breaks down my complete audio mastering process: understanding YouTube's LUFS standards, setting up compression and limiting in Fairlight, integrating iZotope Ozone 11 for final mastering, and avoiding common mistakes that compromise audio quality.
Why Audio Mastering Matters for YouTube
YouTube is not Spotify. The platform applies its own loudness normalization algorithm that targets -14 LUFS (Loudness Units relative to Full Scale) integrated loudness. Videos that exceed this target are turned down; videos below it remain at their original level but sound quieter than competing content.
This creates a specific challenge for ambient music creators. Unlike pop music with aggressive compression and limiting, ambient content relies on dynamic range—the difference between quiet passages and louder moments. Over-compress, and the music loses its emotional depth. Under-compress, and the video sounds inconsistent or too quiet compared to other content in viewers' feeds.
The goal is balance: achieving -14 LUFS integrated loudness while preserving the natural dynamics that make ambient music effective for focus, relaxation, and sleep.
Understanding LUFS: The Foundation of YouTube Audio
LUFS (Loudness Units relative to Full Scale) is a standardized measurement of perceived loudness that accounts for human hearing sensitivity across different frequencies. Unlike peak levels (measured in dBFS), which only show maximum amplitude, LUFS measures how loud audio actually sounds to listeners.
YouTube's target: -14 LUFS integrated (the average loudness across the entire video)
What this means:
- Videos louder than -14 LUFS are automatically reduced in volume
- Videos quieter than -14 LUFS are left unchanged but sound softer relative to other content
- The sweet spot is -13.5 to -14.5 LUFS for optimal playback
Why -14 LUFS Specifically?
YouTube chose -14 LUFS to balance loudness consistency across diverse content types while preventing the "loudness war" that plagued music production for decades. This target allows dynamic content (classical music, ambient soundscapes) to retain breathing room while preventing overly compressed content (aggressive EDM, advertisements) from dominating the listening experience.
For ambient music creators, -14 LUFS is ideal. It provides enough headroom for dynamic variation—quiet intro passages, subtle crescendos, gentle fade-outs—while ensuring the overall video plays at a competitive volume in users' feeds.
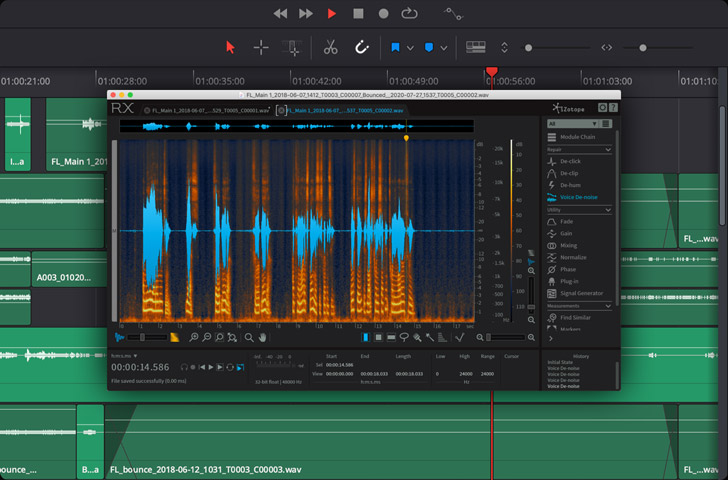
Measuring LUFS in Fairlight
DaVinci Resolve Fairlight includes a built-in loudness meter. To enable it:
- Open the Fairlight page in DaVinci Resolve
- Navigate to Workspace > Meters
- Enable Loudness Meter
- Set the standard to EBU R128 (which uses LUFS)
The loudness meter displays three key measurements:
- Integrated (I): Average loudness across the entire timeline—this is the number YouTube cares about
- Short-term (S): Loudness over the past 3 seconds—useful for monitoring dynamic passages
- Momentary (M): Loudness over the past 400ms—shows instant peaks
For YouTube mastering, focus on Integrated LUFS. The goal is to finish with the integrated reading at approximately -14 LUFS.
My Fairlight Mastering Chain: Step-by-Step Workflow
My mastering workflow in Fairlight follows a specific signal chain order. Each stage addresses a different aspect of the audio: dynamics control, tonal balance, loudness maximization, and final polish.
Stage 1: Clean Up with EQ
Before any compression or limiting, I apply corrective EQ to remove problematic frequencies and enhance clarity.
In Fairlight's mixer, I insert a Channel EQ on the master bus. My typical adjustments:
High-pass filter at 30-40 Hz
Removes sub-bass rumble that wastes headroom without contributing to the listening experience. Most consumer playback systems cannot reproduce these frequencies anyway.
Gentle cut at 200-300 Hz
Reduces muddiness in the low-mids, especially important for piano and guitar-based ambient music.
Slight boost at 3-5 kHz
Adds presence and clarity to melodic elements without harshness.
Gentle roll-off above 16 kHz
Removes unnecessary high-frequency content that can cause listener fatigue.
These adjustments are subtle—typically 2-3 dB cuts or boosts with wide Q values. The goal is transparency, not dramatic tonal shaping.
Stage 2: Dynamics Control with Compression
Compression reduces the dynamic range by lowering the volume of louder passages, allowing the overall level to be raised without clipping. For ambient music, I use gentle compression to maintain naturalness while ensuring consistent loudness.
I insert Fairlight's Compressor plugin on the master bus with these settings:
| Parameter | Setting | Why |
|---|---|---|
| Threshold | -18 to -20 dB | Compression engages on louder passages but leaves quieter sections untouched |
| Ratio | 2:1 to 3:1 | Gentle compression that preserves dynamics |
| Attack | 20-30 ms | Slow enough to let transients through, maintaining punch |
| Release | 200-400 ms | Medium release that smooths dynamics without pumping |
| Makeup Gain | 2-4 dB | Compensates for gain reduction |
The compressor should show 2-4 dB of gain reduction on louder sections. More than 6 dB indicates over-compression, which flattens the music and removes emotional impact.
Stage 3: Limiting for Loudness Maximization
After compression, I use a limiter to increase overall loudness while preventing clipping. A limiter is essentially a compressor with an infinite ratio—it acts as a ceiling that audio cannot exceed.
I insert Fairlight's Limiter plugin on the master bus:
- Threshold: -1.0 to -0.5 dB (provides a small safety margin below 0 dBFS to prevent inter-sample peaks)
- Release: 100-200 ms (fast enough to be transparent, slow enough to avoid distortion)
The limiter should show minimal gain reduction—typically 1-3 dB on the loudest peaks. If the limiter is working harder than this, the audio is being pushed too aggressively, which introduces distortion and listener fatigue.
At this stage, the integrated LUFS reading should be approaching -14 LUFS. If it is still too quiet, I increase the makeup gain on the compressor rather than pushing the limiter harder.
iZotope Ozone 11: The Final Mastering Layer
While Fairlight's built-in tools are excellent, I use iZotope Ozone 11 as the final mastering stage for its superior transparency, advanced algorithms, and specialized modules designed specifically for mastering.
Ozone 11 is a professional mastering suite that includes EQ, dynamics processing, stereo imaging, and maximization tools. I use it as a VST plugin inserted on Fairlight's master bus, after the Fairlight compressor and limiter.
Why Ozone 11 for Ambient Music?
Ozone 11 excels at transparent loudness maximization—increasing perceived volume without audible distortion or dynamic flattening. Its Maximizer module uses advanced limiting algorithms that preserve transients and stereo width better than most built-in limiters.
For ambient music, this transparency is critical. Aggressive limiting destroys the subtle textures, spatial depth, and dynamic breathing that make ambient content effective for focus and relaxation.
My Ozone 11 Preset for YouTube Ambient Music
I have developed a custom Ozone 11 preset optimized for YouTube ambient content. Here is the signal chain:
1. EQ Module
- High-pass filter at 35 Hz (removes inaudible sub-bass)
- Gentle 1-2 dB boost at 8-10 kHz (adds air and openness without harshness)
2. Dynamics Module
- Multiband compression with gentle ratios (1.5:1 to 2:1) across four frequency bands
- This controls dynamics independently in bass, low-mids, high-mids, and highs, preventing any single frequency range from dominating
3. Exciter Module (optional)
- Subtle harmonic enhancement in the high-mids (2-5 kHz) to add presence
- Used sparingly—only when the source material sounds dull
4. Imager Module
- Slight stereo widening above 500 Hz (increases spatial depth)
- Mono summing below 200 Hz (ensures bass remains centered and phase-coherent)
5. Maximizer Module
- Target loudness: -14 LUFS
- Transient emphasis: Medium (preserves attack on piano notes and percussive elements)
- Character: Modern (transparent limiting with minimal coloration)
Ozone 11's Master Assistant feature can also generate a starting preset automatically by analyzing the audio. While I prefer manual control, Master Assistant provides an excellent baseline for creators new to mastering.
Integrating Ozone 11 into Fairlight
To use Ozone 11 in Fairlight:
- Open the Fairlight page
- Select the Master bus in the mixer
- Click Effects in the inspector panel
- Add VST3 > iZotope > Ozone 11
- Load your preset or configure manually
Ozone 11 processes the audio after Fairlight's built-in plugins, providing the final mastering polish before export.
Testing and Validation: Ensuring Consistent Results
Mastering is not a set-and-forget process. Every audio source has unique characteristics—different instruments, recording quality, dynamic range—that require slight adjustments to the mastering chain.
After applying the mastering chain, I validate the results using these checks:
Check 1: Integrated LUFS Measurement
Play the entire timeline in Fairlight and observe the integrated LUFS reading. The target is -14 LUFS ±0.5 dB.
If the reading is outside this range:
- Too loud (above -13.5 LUFS): Reduce makeup gain on the compressor or lower the Ozone 11 Maximizer target
- Too quiet (below -14.5 LUFS): Increase makeup gain on the compressor or raise the Ozone 11 Maximizer target
Check 2: Dynamic Range Preservation
Ambient music should retain dynamic variation. I use the PLR (Peak to Loudness Ratio) measurement to assess this. A healthy PLR for ambient music is 8-12 dB. Lower values indicate over-compression.
Ozone 11 displays PLR in the Maximizer module. If PLR drops below 8 dB, I reduce compression or limiting to restore dynamics.
Check 3: Listening Test Across Playback Systems
I export a test render and listen on multiple systems:
- Studio monitors: Check for distortion, harshness, or imbalance
- Consumer headphones (e.g., AirPods): Verify the mix translates to typical YouTube listening environments
- Laptop speakers: Ensure the audio remains clear even on low-quality playback systems
If the audio sounds harsh, fatiguing, or unbalanced on any system, I revisit the EQ and compression settings.
Check 4: A/B Comparison with Reference Tracks
I compare my master to professionally produced ambient music on YouTube. I use tracks from established channels in the same genre and match their loudness using a gain plugin to ensure a fair comparison.
The goal is not to sound identical but to ensure my master competes in terms of clarity, depth, and loudness.
Common Audio Mastering Mistakes (And How to Avoid Them)
Even experienced creators make mastering errors that compromise audio quality. Here are the most frequent issues I have encountered and their solutions.
Mistake 1: Ignoring True Peak Levels
LUFS measures perceived loudness, but it does not prevent clipping. A master at -14 LUFS can still clip if true peak levels exceed 0 dBTP (decibels True Peak).
Solution: Set the limiter ceiling to -1.0 dBTP to provide headroom for inter-sample peaks. Ozone 11's Maximizer automatically handles this with its "True Peak Limiting" option.
Mistake 2: Over-Compressing to Achieve Loudness
New creators often push compression too hard, resulting in lifeless, flat audio. Ambient music relies on dynamic breathing—the subtle rise and fall of volume that creates emotional depth.
Solution: Use gentle compression ratios (2:1 to 3:1) and aim for 2-4 dB of gain reduction maximum. If the audio still does not reach -14 LUFS, increase makeup gain or use the limiter/maximizer instead.
Mistake 3: Neglecting Low-End Management
Excessive bass wastes headroom and causes distortion on consumer playback systems. Many ambient tracks have unnecessary sub-bass content below 40 Hz that contributes nothing to the listening experience.
Solution: Apply a high-pass filter at 30-40 Hz on the master bus. This frees up headroom for the rest of the frequency spectrum and prevents bass distortion on small speakers.
Mistake 4: Mastering in an Untreated Room
Mastering decisions are only as good as what you hear. Untreated rooms with poor acoustics lead to incorrect EQ and balance choices.
Solution: Use reference headphones (e.g., Sennheiser HD 600, Beyerdynamic DT 770) for critical mastering decisions. Headphones bypass room acoustics and provide a consistent monitoring environment.
Mistake 5: Forgetting to Check Mono Compatibility
Many mobile devices and Bluetooth speakers sum stereo audio to mono. If the master has phase issues, certain frequencies can cancel out in mono playback, resulting in a thin, hollow sound.
Solution: Check the master in mono using Fairlight's mono monitoring button. If the audio sounds significantly worse in mono, adjust stereo imaging or check for phase issues in the source material.
Advanced Techniques for Specific Content Types
Different types of ambient content require slight variations in the mastering approach. Here are adjustments I make for specific genres across my channels.
Piano-Based Ambient Music (Pianosphere Radio)
Piano has sharp transients (the initial attack of each note) that can trigger excessive compression if not handled carefully.
Adjustment: Increase compressor attack time to 30-40 ms to let transients through. Use Ozone 11's Transient Emphasis in the Maximizer to preserve note attacks.
Jazz with Acoustic Instruments (JazzSphere Radio)
Jazz relies on dynamic variation—quiet passages, sudden crescendos, expressive solos. Over-compression destroys this musicality.
Adjustment: Use lighter compression (ratio 1.5:1 to 2:1) and accept a slightly lower integrated LUFS (-15 to -14.5 LUFS) to preserve dynamics. YouTube's normalization will still bring the volume up to competitive levels.
Cyberpunk Soundscapes with Heavy Bass (Cyber Dreams)
Cyberpunk ambient often features deep bass drones and sub-bass elements that can dominate the mix and cause distortion.
Adjustment: Apply multiband compression in Ozone 11 to control the bass independently. Use a tighter ratio (3:1) on the low-frequency band while keeping mid and high frequencies more dynamic.
Long-Form Focus Music (Deep Focus Sphere)
10-hour focus videos require absolute consistency—no sudden volume jumps, no fatiguing frequencies, no distracting dynamics.
Adjustment: Use slightly more aggressive compression (ratio 3:1, threshold -16 dB) to ensure consistent loudness throughout. Apply gentle de-essing at 6-8 kHz to prevent high-frequency fatigue during extended listening.
Exporting for YouTube: Final Technical Considerations
After mastering, the final export settings determine whether the audio quality survives YouTube's encoding process.
Recommended Export Settings
In DaVinci Resolve's Deliver page:
| Setting | Value | Why |
|---|---|---|
| Format | MP4 | YouTube's preferred container format |
| Video Codec | H.265 | Smaller file sizes, better quality |
| Audio Codec | AAC | YouTube's native audio format |
| Audio Bitrate | 320 kbps | Highest quality AAC |
| Sample Rate | 48 kHz | YouTube's native sample rate |
| Bit Depth | 24-bit | Preserves dynamic range during encoding |
YouTube re-encodes all uploads, but starting with high-quality audio minimizes generational loss. AAC at 320 kbps is perceptually transparent for most listeners.
Avoid These Export Mistakes
Do not export at 44.1 kHz: YouTube resamples to 48 kHz, introducing artifacts. Export at 48 kHz natively.
Do not use MP3: AAC provides better quality at the same bitrate and is YouTube's preferred format.
Do not normalize during export: The mastering chain already achieved -14 LUFS. Additional normalization can introduce clipping.
My Complete Mastering Workflow (Summary)
Here is my step-by-step mastering workflow, condensed into actionable steps:
- Import audio into Fairlight and ensure all tracks are properly aligned and synced
- Enable loudness meter (EBU R128 standard) to monitor LUFS in real-time
- Apply corrective EQ: High-pass at 30-40 Hz, reduce muddiness at 200-300 Hz, add presence at 3-5 kHz
- Insert compressor: Threshold -18 to -20 dB, ratio 2:1 to 3:1, attack 20-30 ms, release 200-400 ms (aim for 2-4 dB gain reduction)
- Insert limiter: Ceiling at -1.0 dBTP, release 100-200 ms (minimal gain reduction, 1-3 dB)
- Add iZotope Ozone 11: Load custom preset or use Master Assistant (target -14 LUFS in Maximizer module)
- Monitor integrated LUFS: Play entire timeline and verify integrated LUFS reads -14 ±0.5 dB
- Check dynamic range: Verify PLR is 8-12 dB to ensure dynamics are preserved
- Export test render: Listen on multiple playback systems (monitors, headphones, laptop speakers)
- A/B with reference tracks: Compare to professional ambient music on YouTube at matched loudness
- Adjust and re-export: Make final tweaks to EQ, compression, or limiting based on listening tests
- Final export: Render at full quality (48 kHz, 24-bit AAC) for upload to YouTube
This process typically takes 30-60 minutes per video, but the result is broadcast-quality audio that competes with professional productions.
Conclusion: Audio Quality as Competitive Advantage
Audio mastering is often overlooked by YouTube creators, yet it is one of the most impactful factors in viewer retention and satisfaction. A video with professional audio quality signals credibility, attention to detail, and respect for the audience's listening experience.
My workflow—Fairlight for mixing and dynamics control, iZotope Ozone 11 for final mastering, and rigorous testing across playback systems—delivers consistent, broadcast-quality audio optimized for YouTube's -14 LUFS standard. This workflow scales across content types, from delicate piano ambience to bass-heavy cyberpunk soundscapes, while preserving the dynamic depth that makes ambient music effective.
The next time you upload a video and wonder why it sounds quieter or less polished than competing content, the answer is simple: mastering. Invest the time to understand LUFS, compression, and limiting, and your audio will stand out in a crowded platform.
TAGS
Share this article